
How to Assemble a Basic Frame
Start Here — Step 1: prepare your cut profiles, seat the corner joints, and assemble the perimeter frame before adding supports and panels.
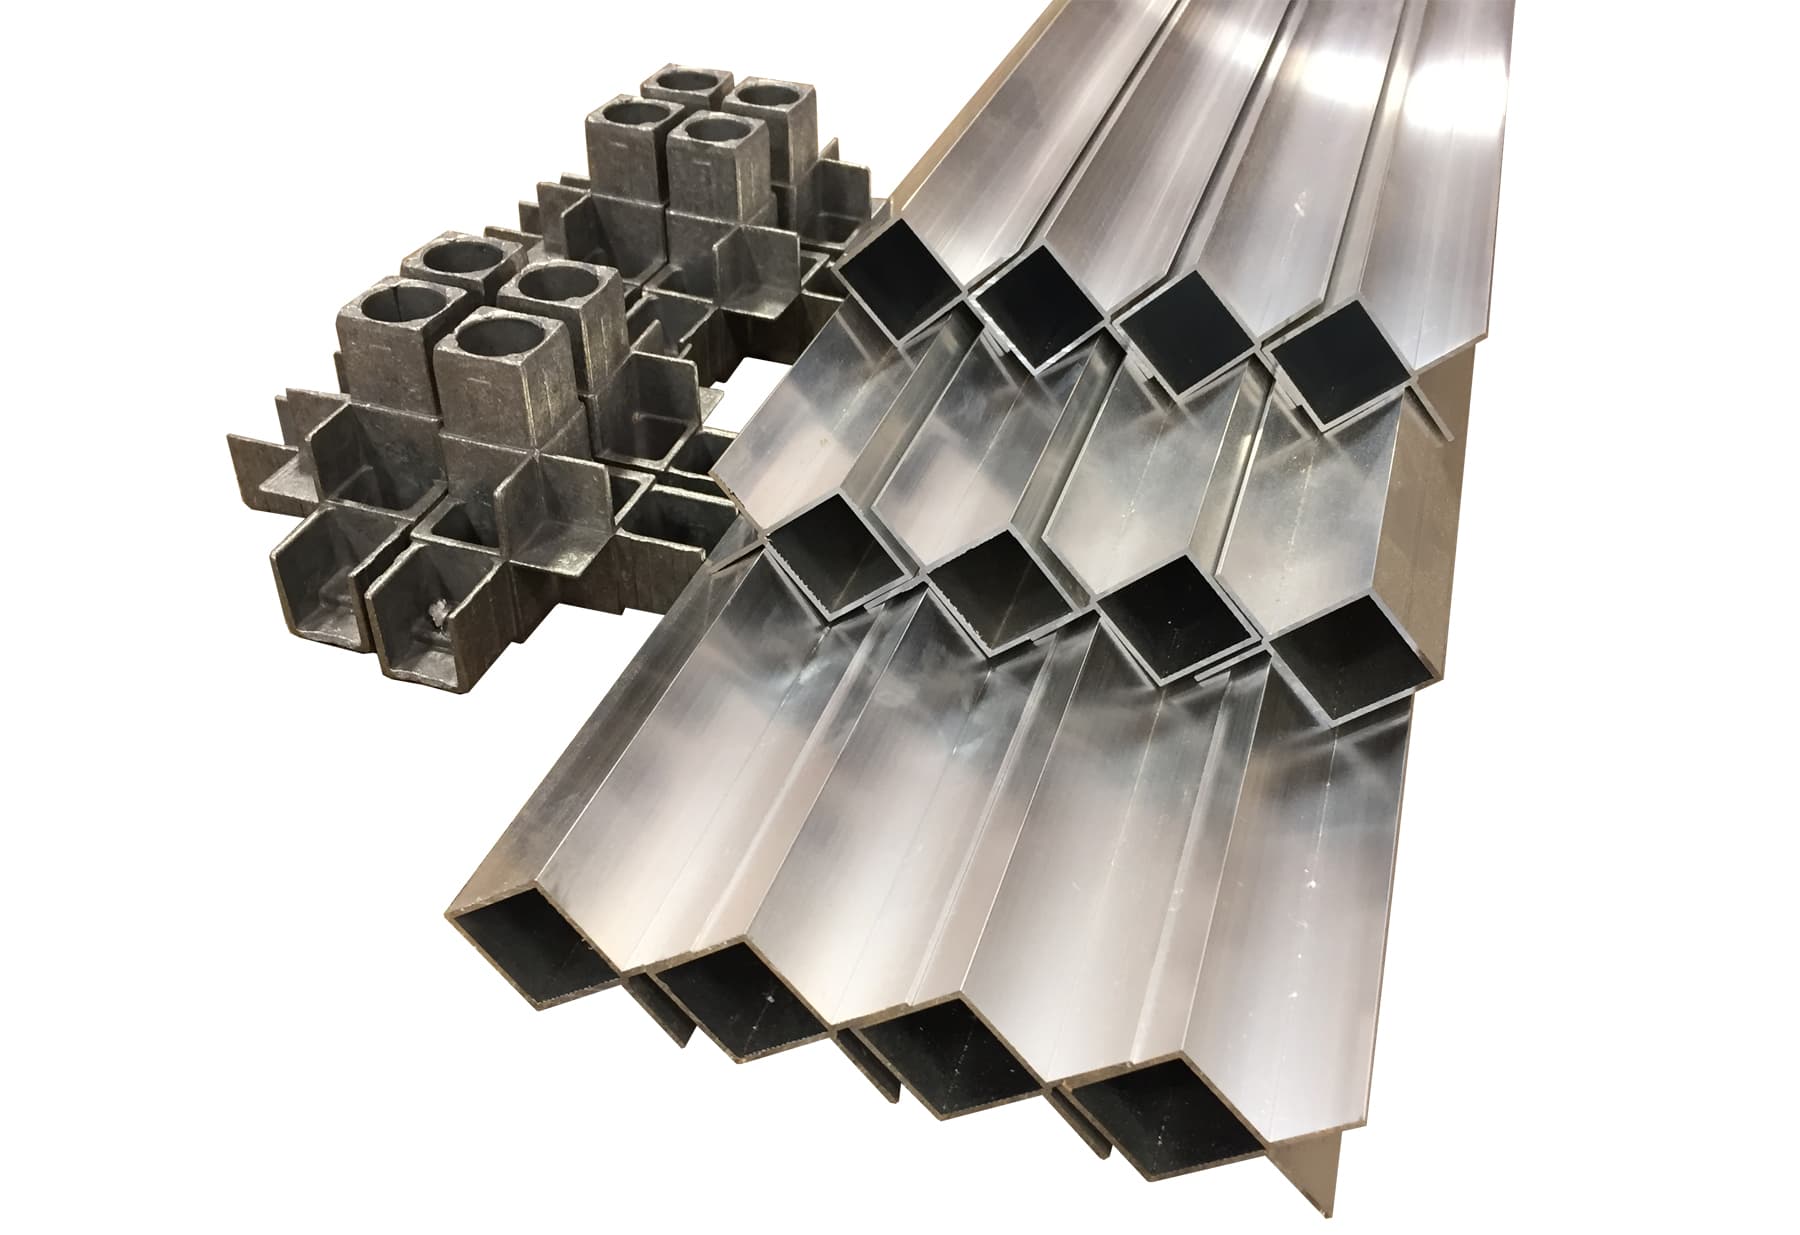
Start Here — Step 1 of 3
A basic MFS enclosure begins with perimeter profiles and matching corner joints. Build the outer frame first, then use the next two guides to plan intermediate supports and close the enclosure.
Before you begin
Select the framing system for your panel thickness and thermal-break requirements. Confirm the outside length, width, and height, and use the corner dimensions for that specific system when calculating cut lengths.
Cut length = desired outside dimension − the exposed corner dimension at each end. Corner dimensions vary by system; do not use one system’s deduction for another. See our cut-length guide for a worked example.
Tools and preparation
- Plastic-headed mallet.
- Drill and appropriate bits.
- Self-drilling screws or rivets for intermediate-support attachment.
- A chop saw with a non-ferrous-metal cutting blade if cutting your own profiles.
MFS cutting and kitting services can supply components ready for assembly. Lay out the cut profiles and matching corners before starting; verify that paired profiles have equal lengths and that the profile orientation matches your intended panel and support layout.
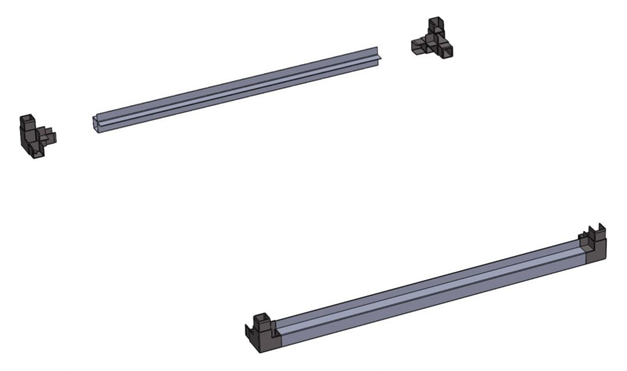
1. Seat the first corner joints
Insert the matching corner legs into both ends of the first pair of profiles. Keep each corner aligned with the profile and use the plastic-headed mallet to seat it until the inserted male portion is no longer visible. The metal-to-metal fit is tight. Our assembly guide notes that a small amount of WD-40 or soapy water can be used as temporary lubricant.
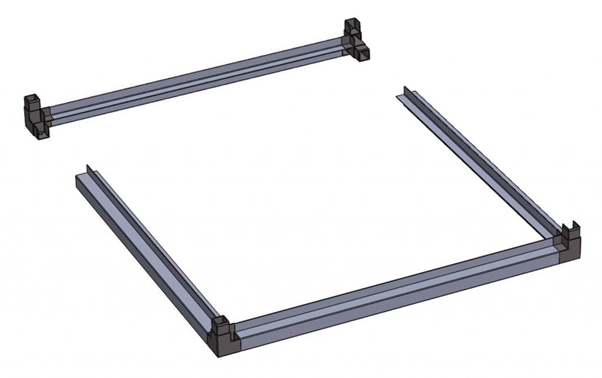
2. Complete a rectangular frame
Fit the second pair of profiles onto the exposed corner legs to form a rectangle. Seat the connections fully with the mallet and check the alignment of the assembled frame.
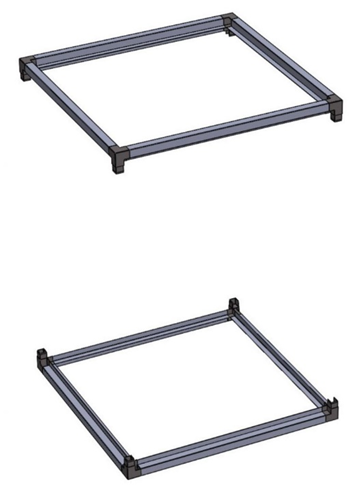
3. Make the matching frame
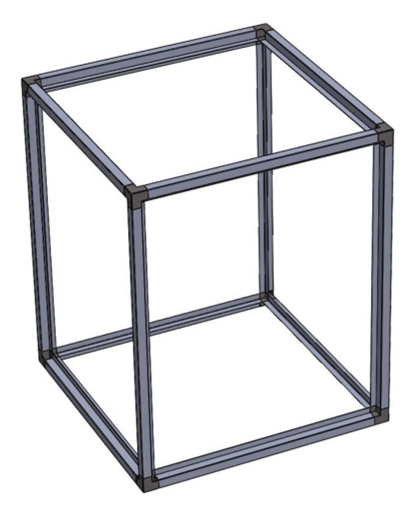
Repeat the process for the opposite perimeter frame. For the arrangement illustrated here, these form the top and bottom of the enclosure.
4. Join the frames into a box
Add the remaining connecting profiles. Align their openings with the corner joints on the opposite frame, then seat the joints with the mallet. Check the outside dimensions and frame alignment before proceeding with intermediate supports.
What comes next?
Intermediate profiles establish door openings, duct connections, panel divisions, and attachment points. Plan them around the equipment and service access rather than simply dividing the frame into equal spaces.
Watch frame assemblies
Browse framing systems · Request a cut and kitted frame quote
Continue the Start Here series
Related posts
How to Install Panels and Skin a Unit
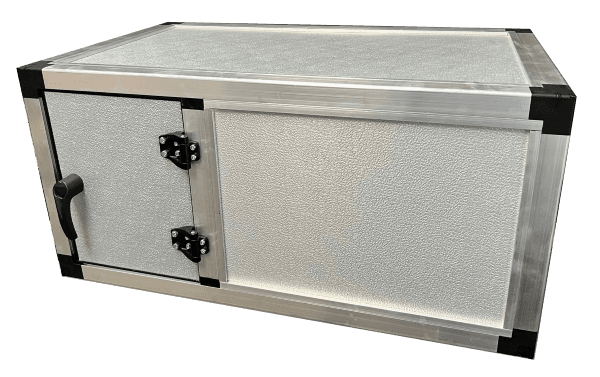
Start Here — Step 3: compare Standard and Stopper panel installation, plan gaskets and clearances, and understand common sheet-metal skinning techniques.
How to Configure Intermediate Supports
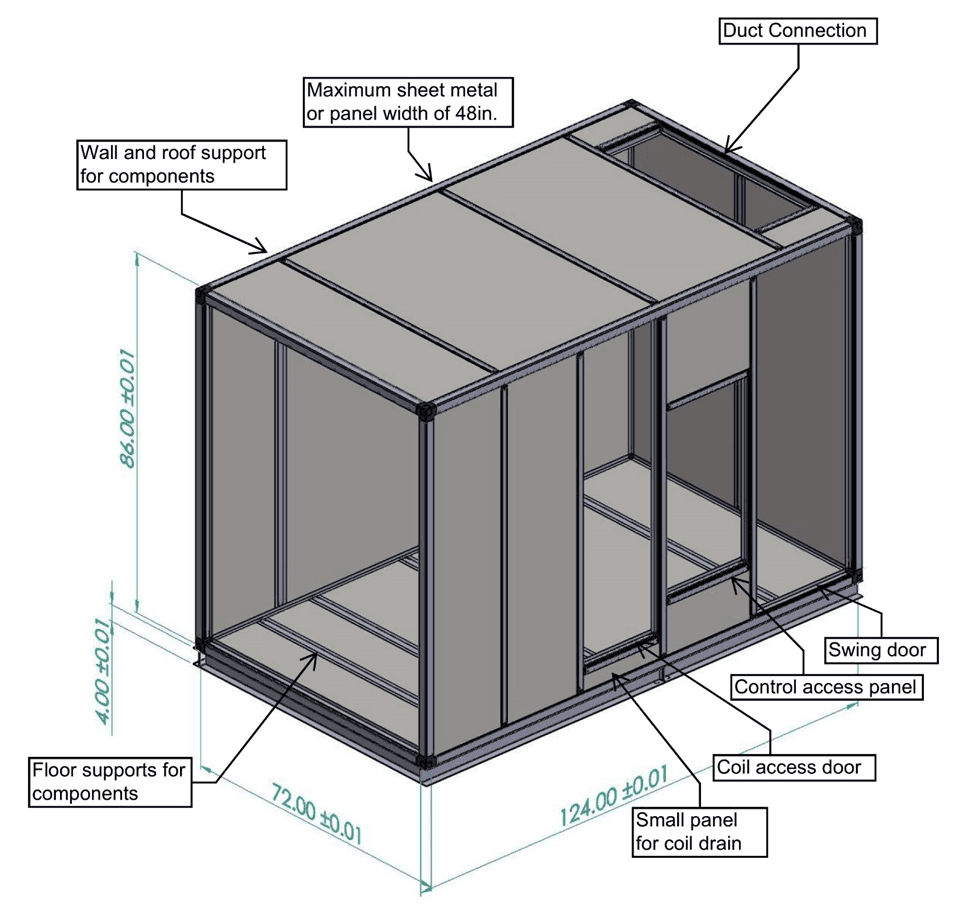
Start Here — Step 2: position intermediate supports around doors, duct connections, internal components, and panel divisions.
How do I calculate my cut lengths for the different framing systems?
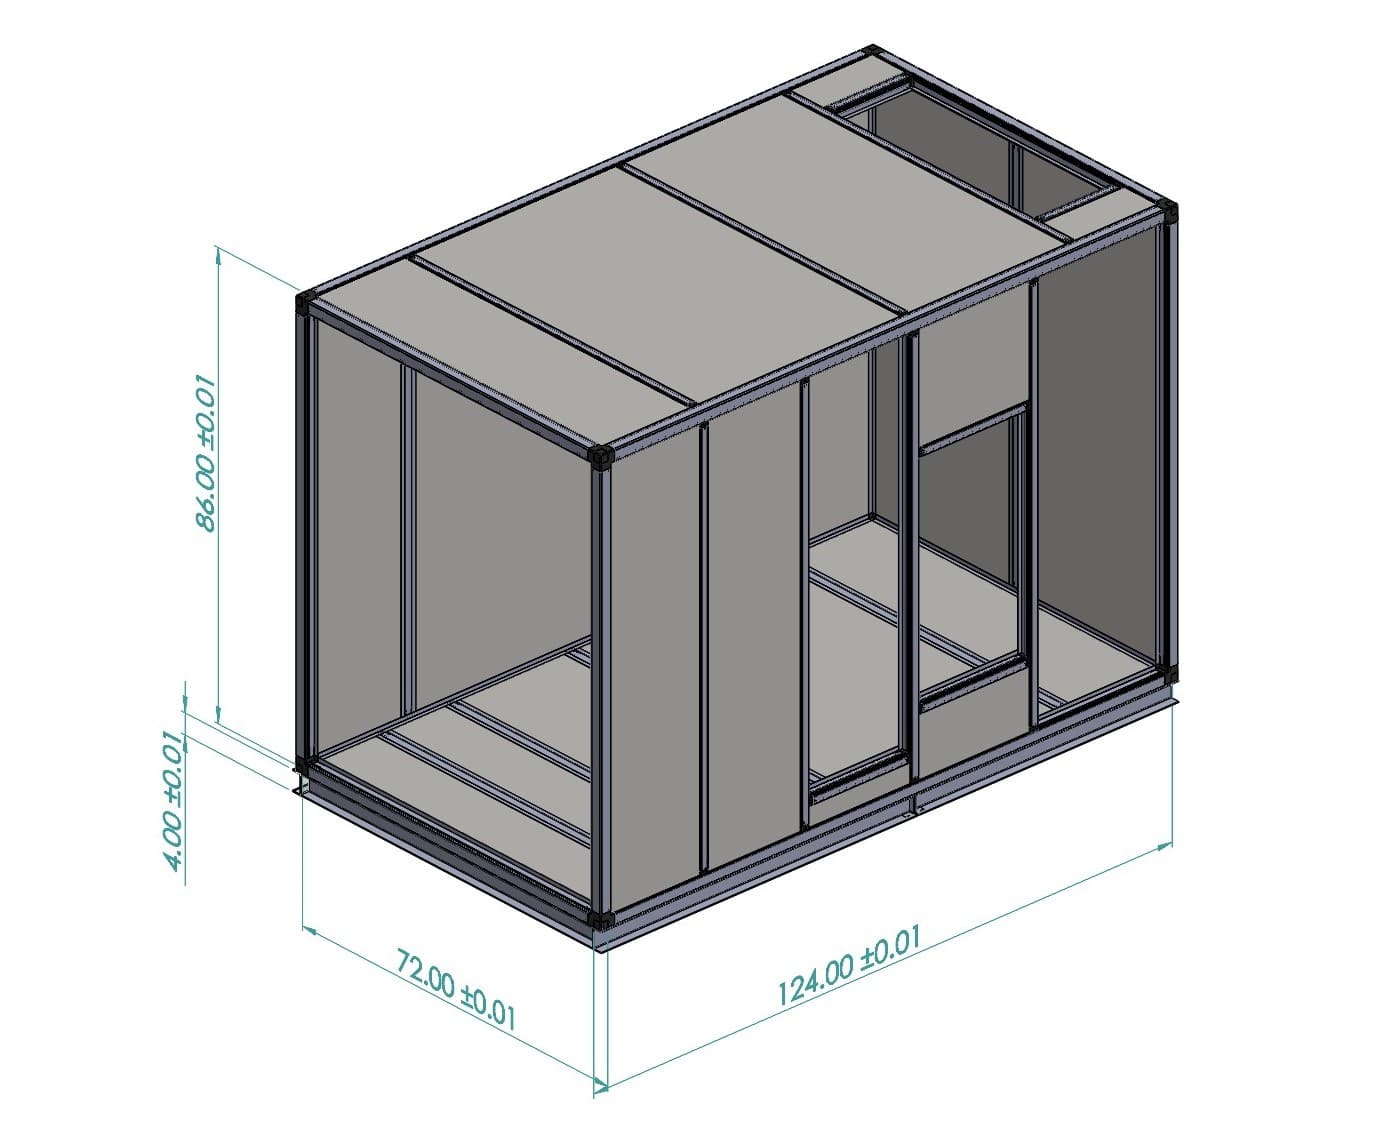
Calculating the cut length on extrusions is most commonly done by deducting the exposed portion of the corner joints from the overall desired outside dimensions or you box. For example: